
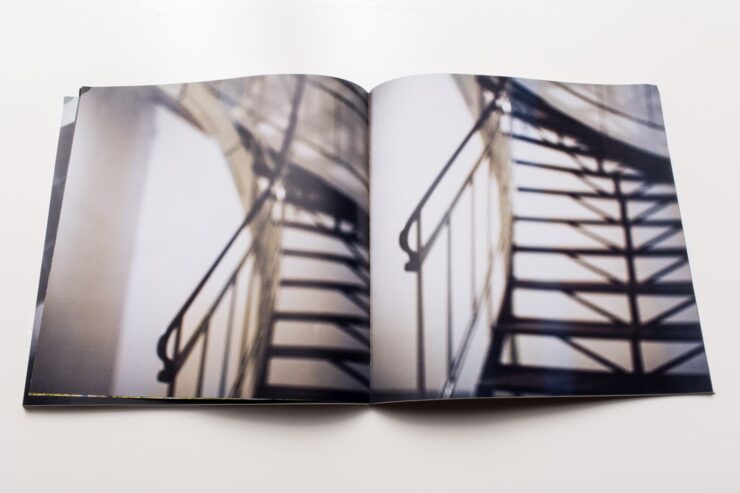
Preserving memories is the most important thing for us, those who came before, and those that are going to come after. Since we live in a world that is mainly run by technology, we have lost the practice of filling out a photo album and going back to it every time we want to go down memory lane.
If you want to preserve your most valuable memories you have come to the right place. Here, we are going to talk about the art of creating photo books. Keep on reading to learn some tips and tricks for stunning results.
1. Explore options online
If you want to master the art of creating photo books, then you first want to start by exploring the options you are given online. As you can see if you click here, when creating photo books, you don’t have to do it all on your own. You can always get some much-needed help from online platforms and studios, and you can save yourself a lot of time and effort, especially if you want to get perfect results.
You can use the World Wide Web to get some inspiration, spike your creativity, and find platforms that are going to help you with the result. You can choose to incorporate anything that you want, or you can stick to your minimalistic idea and get the photo book of your dreams.
2. Choose the memories you want to save
Experts suggest that it is best if you start by choosing the images that you want to include in your book and making sure that they are all in one place. Nowadays, we have 10s of thousands of images in our camera roll, and it can be pretty difficult to make a decision on which image we want to save. So, the most time-consuming part is going to be choosing the photographs that you want to include in your book.
Give yourself enough time to find what you want to save, and make sure that you put everything in one place. You can create a new album on your device, or you can just send everything to yourself on a specific platform. If you choose to select and send images, make sure that the compression does not damage the quality of the files.
3. Always include high-quality photos
As we mentioned, the quality of the photographs is going to make the biggest difference in how the finished product looks. Because of this, you need to choose high-quality photographs that are going to look amazing when you print them out later. If you have some images that are relatively old that you still want to incorporate in your book, you can get them professionally updated, and you can include them in your photo book.
When choosing digital photos, find something with great resolution that is going to translate well on paper, and make sure that nothing loses quality while transferring it. It is best if you sent files via e-mail and don’t forget to choose the option that does not compress the images.
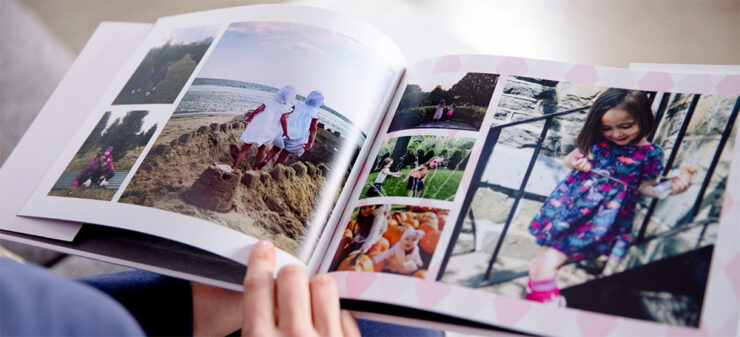
4. Don’t put everything in one book
Once you have your selection in order, you may realize that you have hundreds of photos that you want to include. Keep in mind that you don’t have to put anything and everything in one single book. You can have separate books for separate occasions, including birthdays, weddings, parties, or even just gatherings.
This way you will have more control over how you are setting the whole theme, and you can play around with different things in different books. If you choose to put everything in just one photo book, keep in mind that the whole thing is going to be much bigger than expected, and you can still separate it by sections.
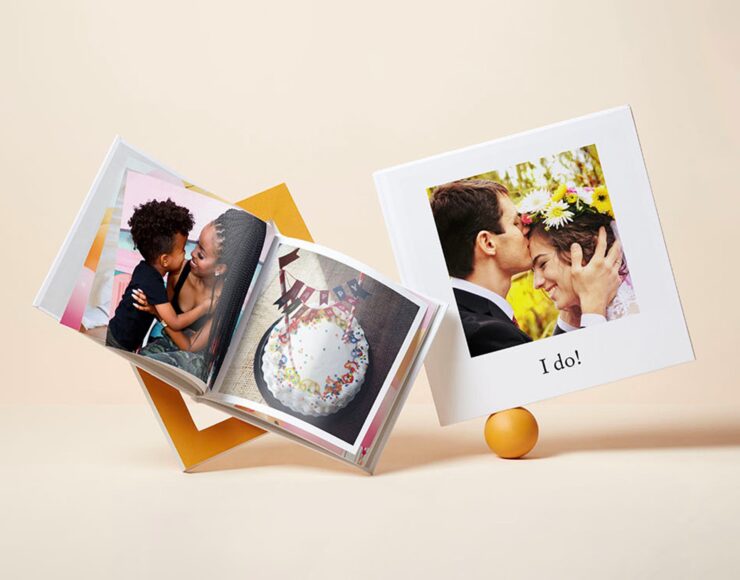
5. Explain with a story
You should always tell a story when creating this important piece of memory. You can choose to sort things chronologically and divide the whole thing into sections or in separate books. Keep in mind that when someone else opens this album, they are supposed to understand everything without even looking at the text or having you next to them.
It is said that a picture tells 1000 words, so make sure that your book tells the story that you want to share with everyone who checks it out. You may need some time to arrange everything and to put the whole thing together, but even though you may lose a few days or even a few weeks, ultimately, once you’re done with your piece it’s going to look stunning.
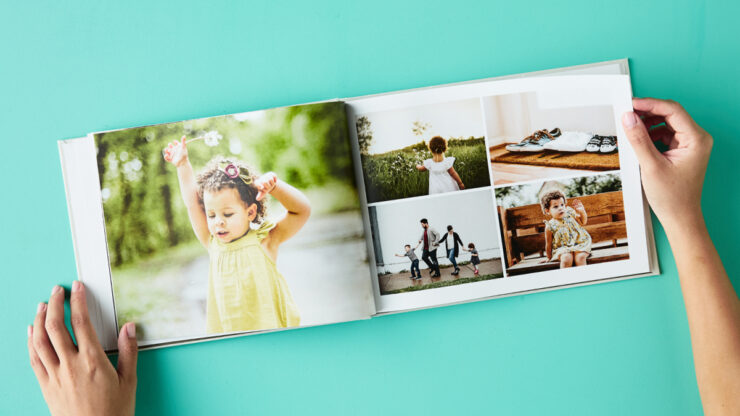
6. Choose a good theme
Choosing a good theme is going to be crucial, and you can decide on which theme you want to go with depending on the type of book you’re creating, the sections, as well as the story you want to share. Some people choose to go with a theme that is minimalistic and that allows the photographs to shine through, while others go with a more colorful and busy style that adds to the feeling and the memories.
If you don’t know what you want to go with, you can always explore photo books that are primate, and you can decide if you want to incorporate something, or just get inspired. Take things slowly, and remember that you don’t have to keep the same theme in each section of your photo book and that you don’t have to use the same style for different books.
7. Add text where needed
Don’t forget that you can always include text that goes next to or under your photographs. You can use that text to remember where that image was taken, or you can just give some further explanation of what has happened before or after you captured that memory.
Some people choose to just keep it short, and explain things with no more than a few words, while others want to give a bigger explanation of the photograph. It is up to you to decide what you want to do and what is going to look best. There is no right or wrong thing you can do, so don’t limit yourself to doing what everyone else is.
Follow these tips, don’t limit yourself, explore different things, and you will master the art of creating photo books in no time. Take your time, learn from your mistakes, and remember that nothing has to be perfect to be beautiful.